Introduction
The Arduino IOT Cloud is an easy to use cloud solution to connect your things to the cloud. This blog goes through how to set it up and if it really is easy.
The Components
For the test to the Arduino IOT Cloud the Arduino Nano 33 IOT was used together with a BLE 280 sensor.
The Arduino IOT Cloud is only compatible with a couple of Arduino boards as well as ESP 8266. Make sure that when using the Arduino cloud that you select the correct board for your project not to be disappointed and frustrated later on.

Setting up your Arduino Nano 33 IOT
To setup your Arduino Nano 33 IOT, connect your board to your PC with a Micro USB cable. When connected you need to install the driver for the plugin to allow access from your web browser to your Nano board. The easiest way to do this is by going to the Arduino plugin site and following the steps to install the plugin.

Once installed it is time to connect your board to the Arduino IOT Cloud. Go to the Arduino IOT Cloud and sign in or create your login. Once logged in, it is time to create your new thing, by pressing on the Add New Thing button.

After pressing the Add New Thing button you will be presented with the setup device page, here you can select Arduino or ESP8266 device. For our example we will select Arduino. Once selected the following screen will show waiting for your device to be connected.

Make sure your Arduino is connected. When the device becomes available the following message will display:

Once found it is time to configure by pressing the configure button. Go through the configuration as given where you will give your device a name.

Once done press next and your setup is complete.

After the device setup is complete it is time to create a new thing. A thing is the project your building with your Arduino device. You will be asked to give your thing a name. We have given our thing the name temperature. Once created you will be taken to your things edit view. Here we will add properties to our thing.

Properties are the items you would like to interface with between your device and the cloud. For our example we will be reading temperature, pressure and humidity from the BME280 sensor.

Properties can be setup as read and write or read only. You also have various types that you can select as well as update method and history visualizations. All options provides a help icon which can be pressed to get more information on the specific setting. Once you have added all your properties your thing properties page should look something like below.

Now we can click on the Edit Sketch button to go to the web based IDE.
Arduino Online IDE
The first time you enter the web based IDE it will look as shown below and will take you trough a tour of the different settings available.

Once you have either gone through the tour or select "NO, THANKS", the IDE will be displayed with four tabs.

The tabs shows the basic setup already done from the properties that has been previously setup. The first Tab represents your sketch and is named exactly as your thing with the date appended. Other than the main .ino file the following files are also shown in individual tabs:
- ReadMe.adoc
- This is a plain text file containing information about the sketch, the author and the project itself
- thingsProperty.h
- This is code generated by the Arduino IOT Cloud when you add your properties. The code doesn't need to be edited, but helps with understanding how the variables are synchronized to the cloud.
- Secret
- This tab allows you to fill in your:
- SECRET_SSID
- SECRET_PASS
- These are the name and password of your wireless network.
Understanding the code
The section will describe the default code that will be generated by the wizard that was used previously. Note the code for the BME 280 is not discussed.
As with all Arduino sketches there are two main functions
- void setup()
- void loop()
The setup is only called once when the sketch starts and the loop is executed on a continuous basis as long as the board is powered.
The following lines of code are generated by default and used for the following reasons:
In thingsProperties.h
- #include <ArduinoIoTCloud.h>
- Imports the ArduinoIoTCloud libary. This is needed to synchronize the local sketch variables with their IoT cloud properties.
- #include <Arduino_ConnectionHandler.h>
- This is the WiFi connection handler which is used to manage the connection to the WiFi seamlessly.
- const char SSID[] = SECRET_SSID
const char PASS[] = SECRET_PASS - These values are extracted from the Secret Tab to connect to the WiFi
- const char THING_ID[] = "52bd6892-3d7f-4346-98fc-3f81bef0b9eb"
- This defines the unique code assigned to the thing created
- initProperties()
- This function is called in the ino setup and is used to add properties to be sent to the cloud as well as set the thing ID
- WiFiConnectionHandler ArduinoIoTPreferredConnection(SSID, PASS)
- Initializes the Connection Manager using the WiFi Access Point Name (SECRET_SSID) and the password (SECRET_PASS)
In Temeprature_date.ino
Includes and setup()
- #include "thingProperties.h"
- Imports variables and functions declared in thingProperties.h
- setDebugMessageLevel(2)
- Sets the level of log messages that will be printed to the Serial Monitor, where 0 is only erros to 3 which is everything. This is usefull to determine when something isn't working from either the WiFi or the Cloud, making it easier to find the issue.
- Serial.begin(9600)
- Initializes the Serial Monitor
- delay(1500)
- Wait for 1.5 seconds for the Serial Monitor to initiate
- initProperties()
- Initializes the properties as defined in thingProperties.h
- ArduinoCloud.begin(ArduinoIoTPreferredConnection)
- Initialize the connection to the Arduino Cloud using the connection manager as defined in thingProperties.h
In the loop()
- ArduinoCloud.update()
- Handles the
- Synchronization of property values between the Arduino and the Cloud
- Checks that the connection to the cloud is up and running
- Checks if a value has changed enough to be reported or if the time has lapsed to report a value again.
Creating the dashboard
From the Arduino IOT Cloud select the Dashboards section.

and select Create Dashboard and give your Dashboard a name. You will now be presented with your blank dashboard in edit mode. From here you can add widgets by clicking on the add button on the left hand side. This will provide you with a drop down with various widgets:

From here you can select the Widget that will work best for your properties. Gauges and a chart has been selected for this example. Once you have added your widget to your dashboard it has a default value in it, you need to now link it to the appropriate property by clicking on the Link Property button as shown in the two images below.


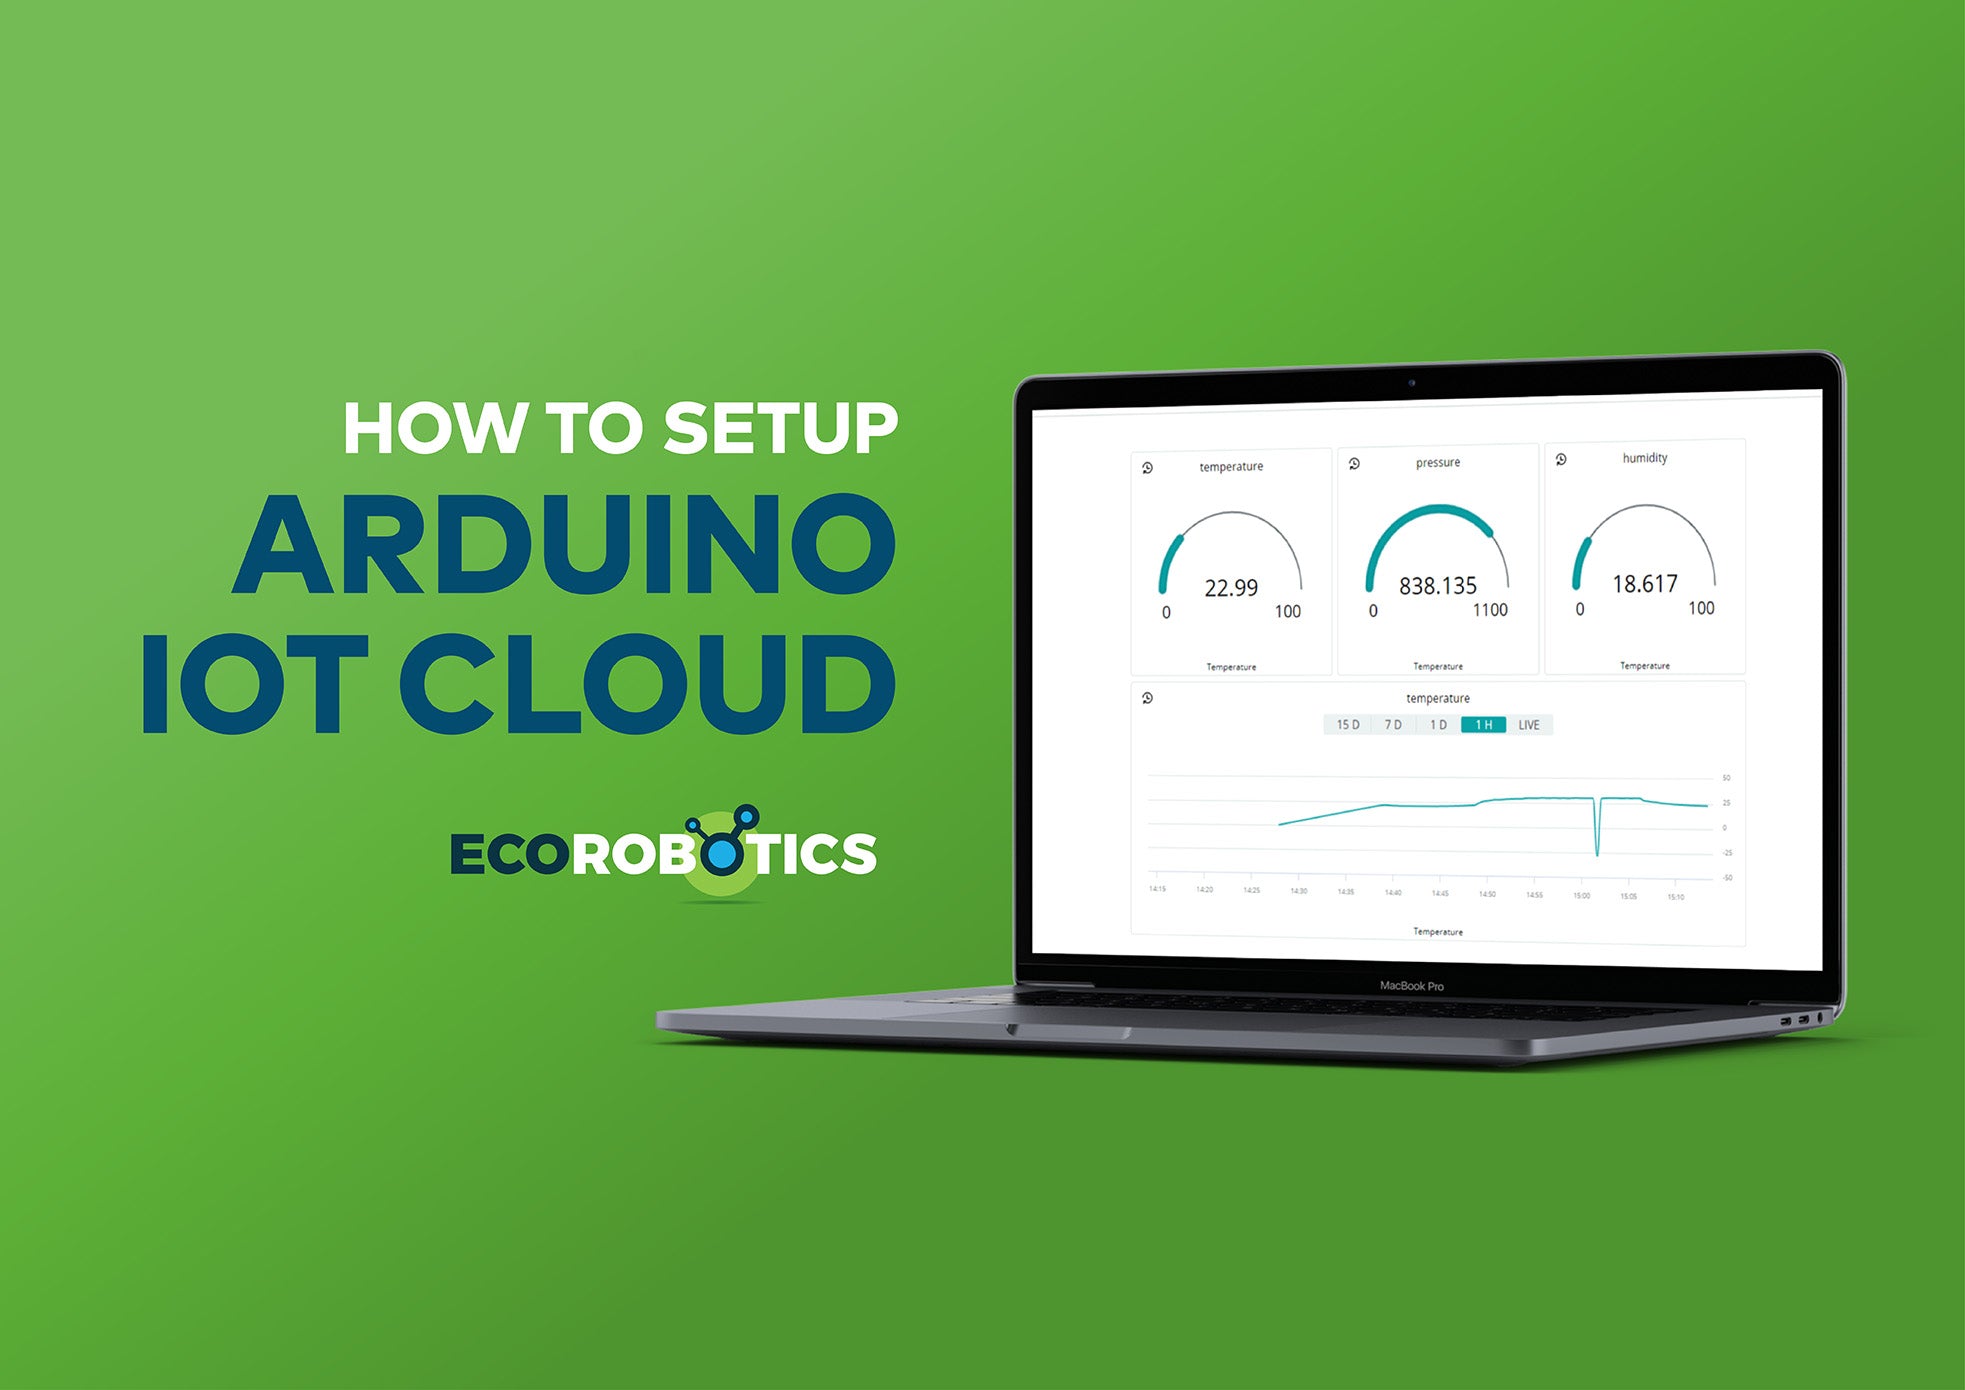
Finally once you have completed linking your widgets to your properties you can move from edit mode, to use dashboard, by clicking on the button in the top right corner.
Your final dashboard will then be presented as shown below

Other tabs
Besides the Dashboards tab in your Arduino IOT Cloud you also have the Things and Devices tab.
The things tab shows the things that you have created and that is part of your Arduino IOT Cloud

On the devices tab you will find your devices that is part of your cloud with their current connection status as well as the thing that they are linked to.

Final Thoughts
The Arduino IOT Cloud is an easy way to start monitoring your things or projects from the cloud, though it has limited capability it still provide allot of features to get you started without needing allot of code and knowledge about linking your devices to the cloud.
With my example project I used the free account which is said to only have 1 days worth of data, but data was stored for more than 1 day. There is only two options available: the free and one paid tier as shown below.

All and all if you are new to Arduino and would like to start linking your devices to the cloud, the Arduino IOT Cloud is a quick and easy way to do so with nice features and an array of widgets for your dashboards.