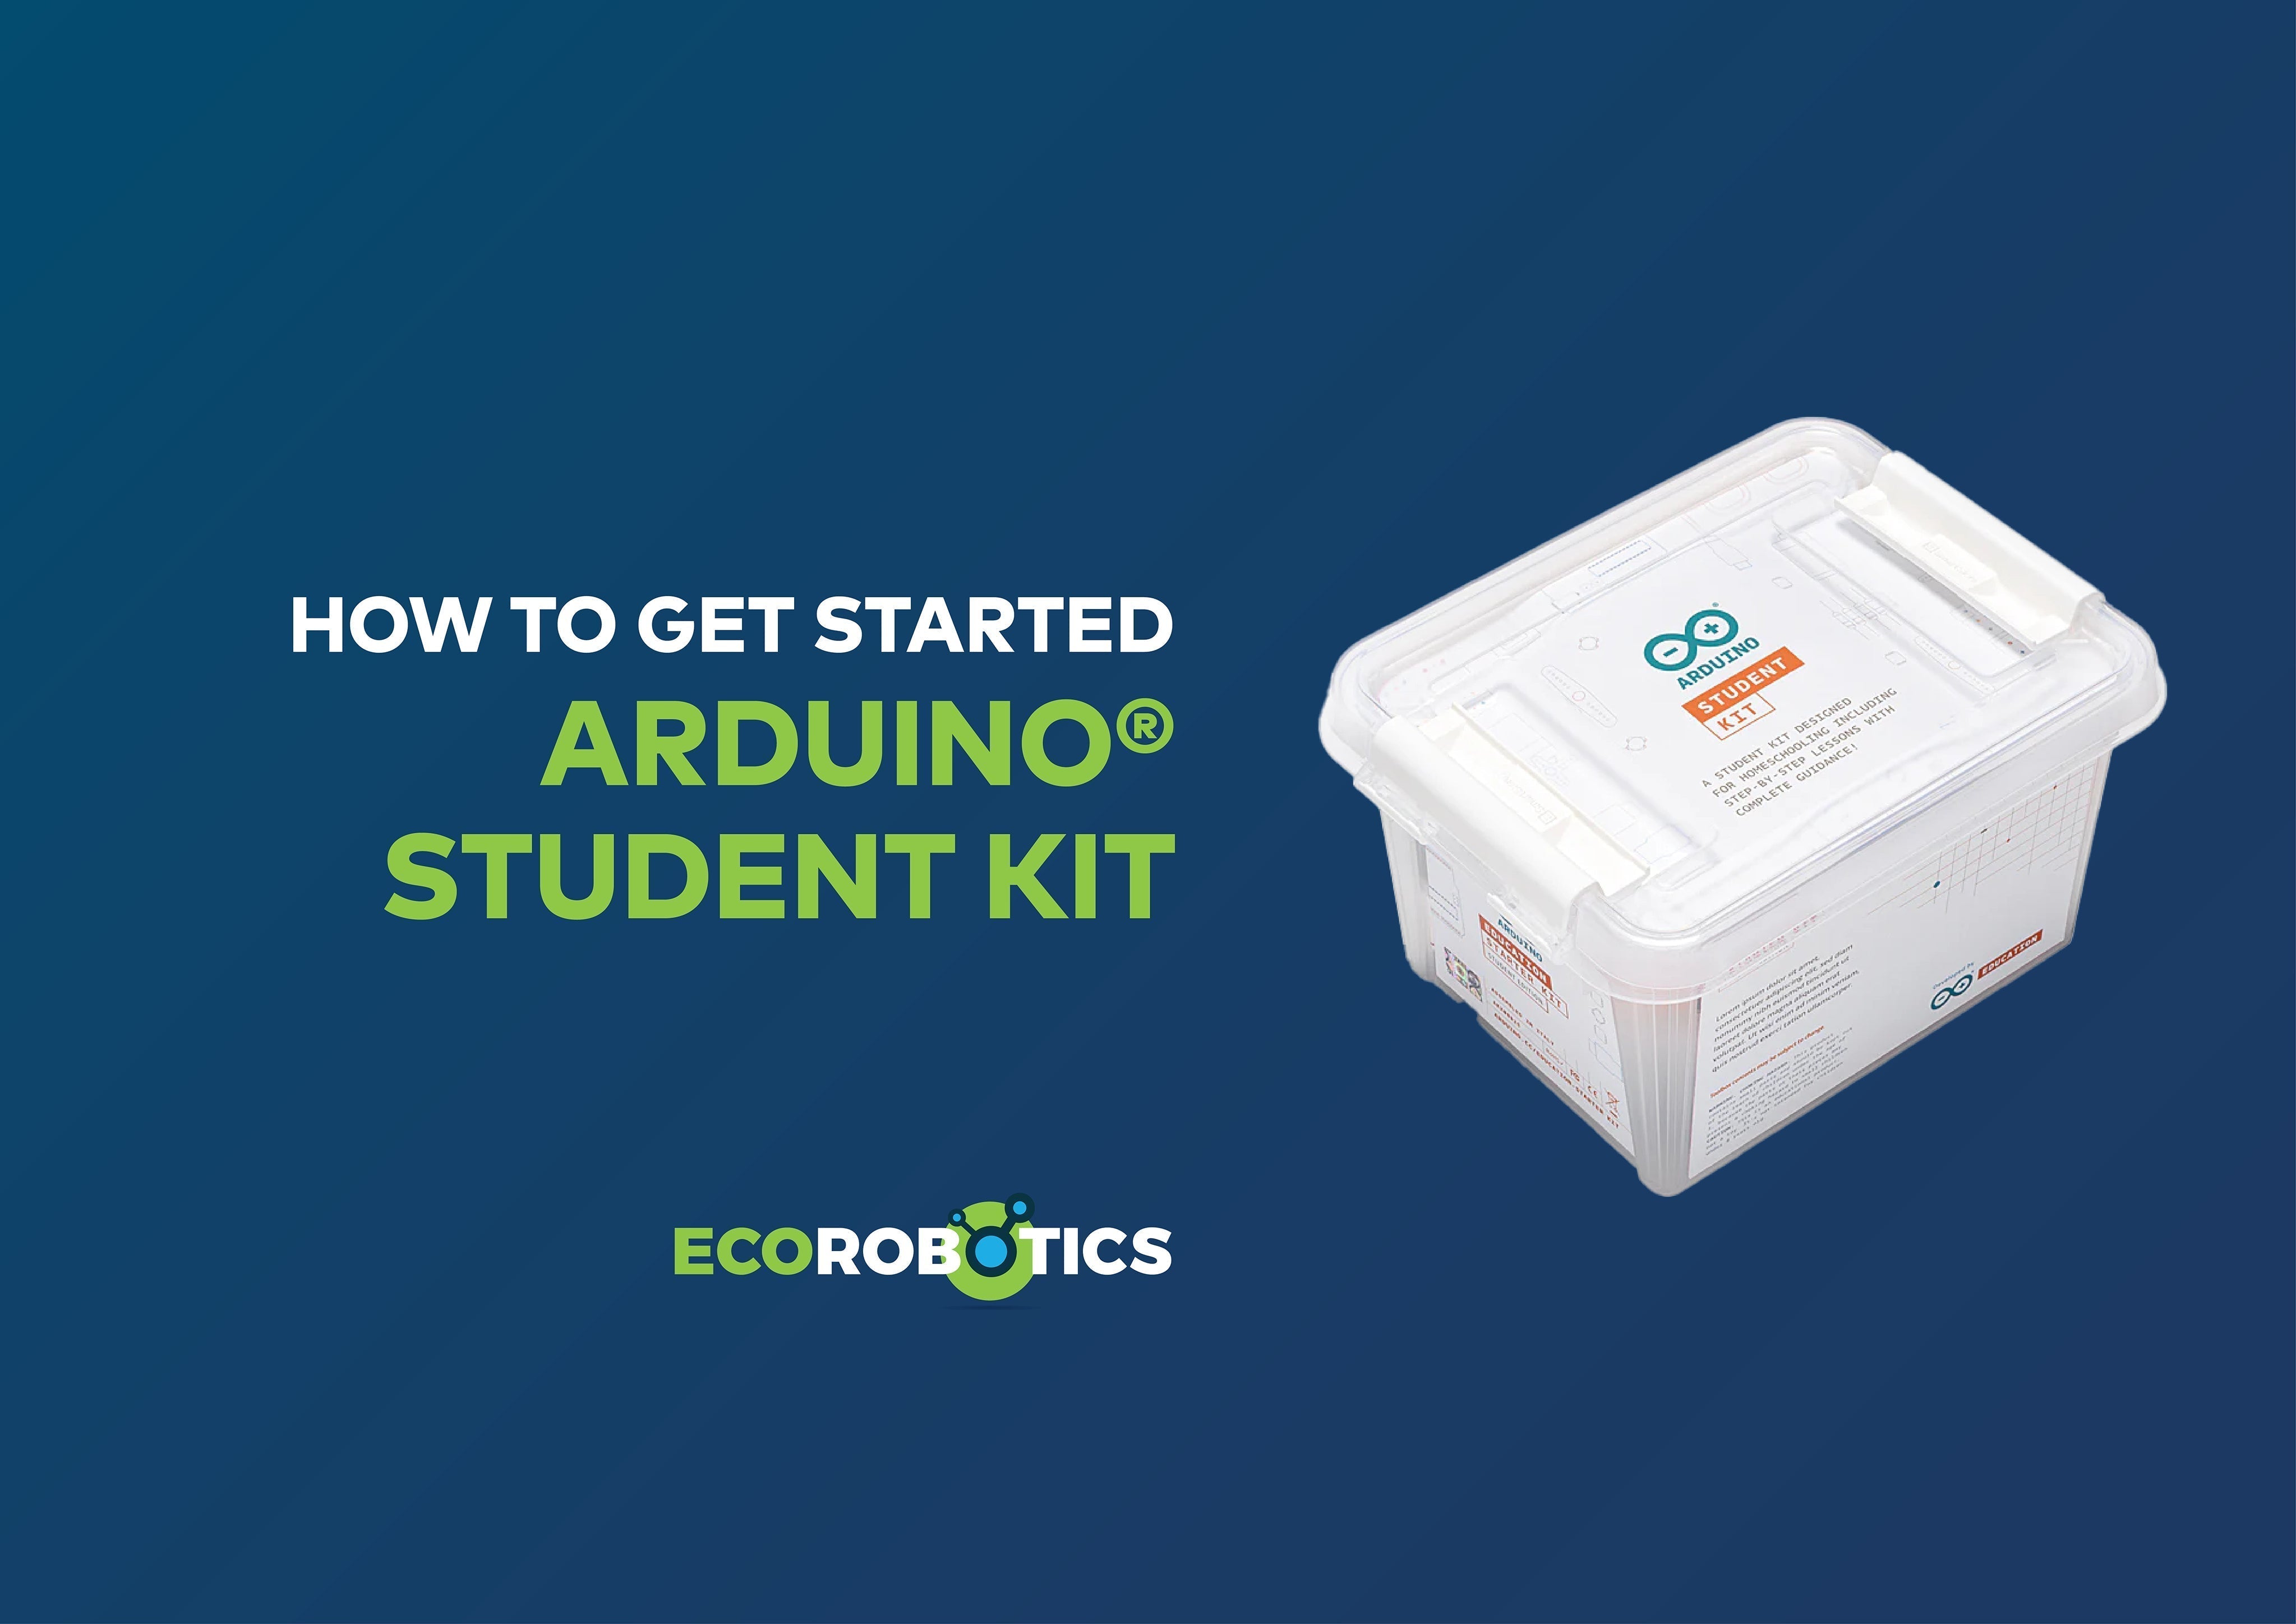

Ready to dive into the world of electronics and coding? The Arduino® Student Kit is the perfect place to start! Whether you're learning at home or in the classroom, this guide will walk you through the first steps—from registering your kit and setting up the hardware, to writing your very first blinking LED program (LESSON 1). With clear instructions, helpful tips, and a few safety notes along the way, you’ll be building your first circuit in no time. Let’s get started!
GET STARTED
1. Register Your Kit
Head over to the Arduino® Student Kit website

-
Click on Register Kit
-
Select Private Space (or Shared Space if applicable)
-
Enter the activation code that came with your kit
-
You’ll receive an activation email—click CONFIRM NOW to activate your account
-
Log in to your Arduino® account
2. Download the Logbook
Access it here: Student Kit Lesson: Getting Started

3. Hardware Setup
-
Carefully separate all components from the plastic sheet

-
Secure the Arduino® Uno board to the base using the 3 screws provided

-
Align the breadboard with the board, making sure "1a" is near the reset button

4. Overview of the Arduino® Uno Board
Familiarise yourself with the board’s key components: digital and analogue pins, power supply, USB connection, and reset button.

5. Software Setup
-
Download the Arduino® IDE software (available for Windows, Mac OS and Linux)
-
Install the drivers for your Arduino® Uno:
-
If using the installer, drivers should install automatically
-
If not, manually install from the
arduino.inffile in the Drivers folder
-
6. Confirm Your Board & Port
-
Go to Tools > Board > Arduino® AVR Boards > Arduino® Uno
-
Then Tools > Port > COM3 (Arduino® Uno) or the relevant port your board is connected to
Note: A flashing orange light on your board means it’s powered and ready!
LESSON 1 - BASIC LED CIRCUIT
7. Build Your First Circuit
-
Insert one end of a 560-ohm resistor into the positive terminal on the breadboard, and the other into hole 1a

-
Insert the anode (long wire) of the LED into hole 1e, and the cathode (short wire) into hole 1f

-
Use a jumper wire from hole 1j to the negative terminal

Power the Breadboard:
- We tested the voltage of our battery

-
Connect the red wire from the battery snap to the positive rail
-
Connect the black wire to the negative rail
The LED should light up! You’ve just built your first circuit.

8. Safety First
-
Always connect the positive terminal before the negative, and disconnect in reverse
-
The Arduino® kits are low voltage and safe, but always use caution with higher voltage systems in other scenarios
9. Understand Open vs Closed Circuits
-
Closed Circuit: Power flows, LED is on

-
Open Circuit: Wire removed, LED is off

10. Programming a Blinking LED
-
Open Arduino® IDE: File > Examples > Basics > Blink
-
Change
delay(1000)todelay(3000)to adjust blink speed -
Upload your code and watch your LED flash!
To wire it for this code:
-
Insert resistor between B1 and A6
-
Disconnect the battery’s ground
-
Connect Pin 13 on the Arduino® to breadboard hole 6B with a red jumper cable
Watch the magic happen as your LED blinks with your code!
With just a few steps, you’ve taken your first leap into the world of electronics. Stay tuned for more lessons as we continue exploring the power of Arduino®!
3 comments
Alina
I would like to order an Arduino kit for a 7th grader doing an electronic project.
Anonymous
Hi , any kit recommendations for someone doing fire fighter robots project and I would like to make a quotation with your company.
Anonymous
Hi , any kit recommendations for someone doing fire fighter robots project and I would like to make a quotation with your company.