
Yes, I made the mistakes so you don’t have to.
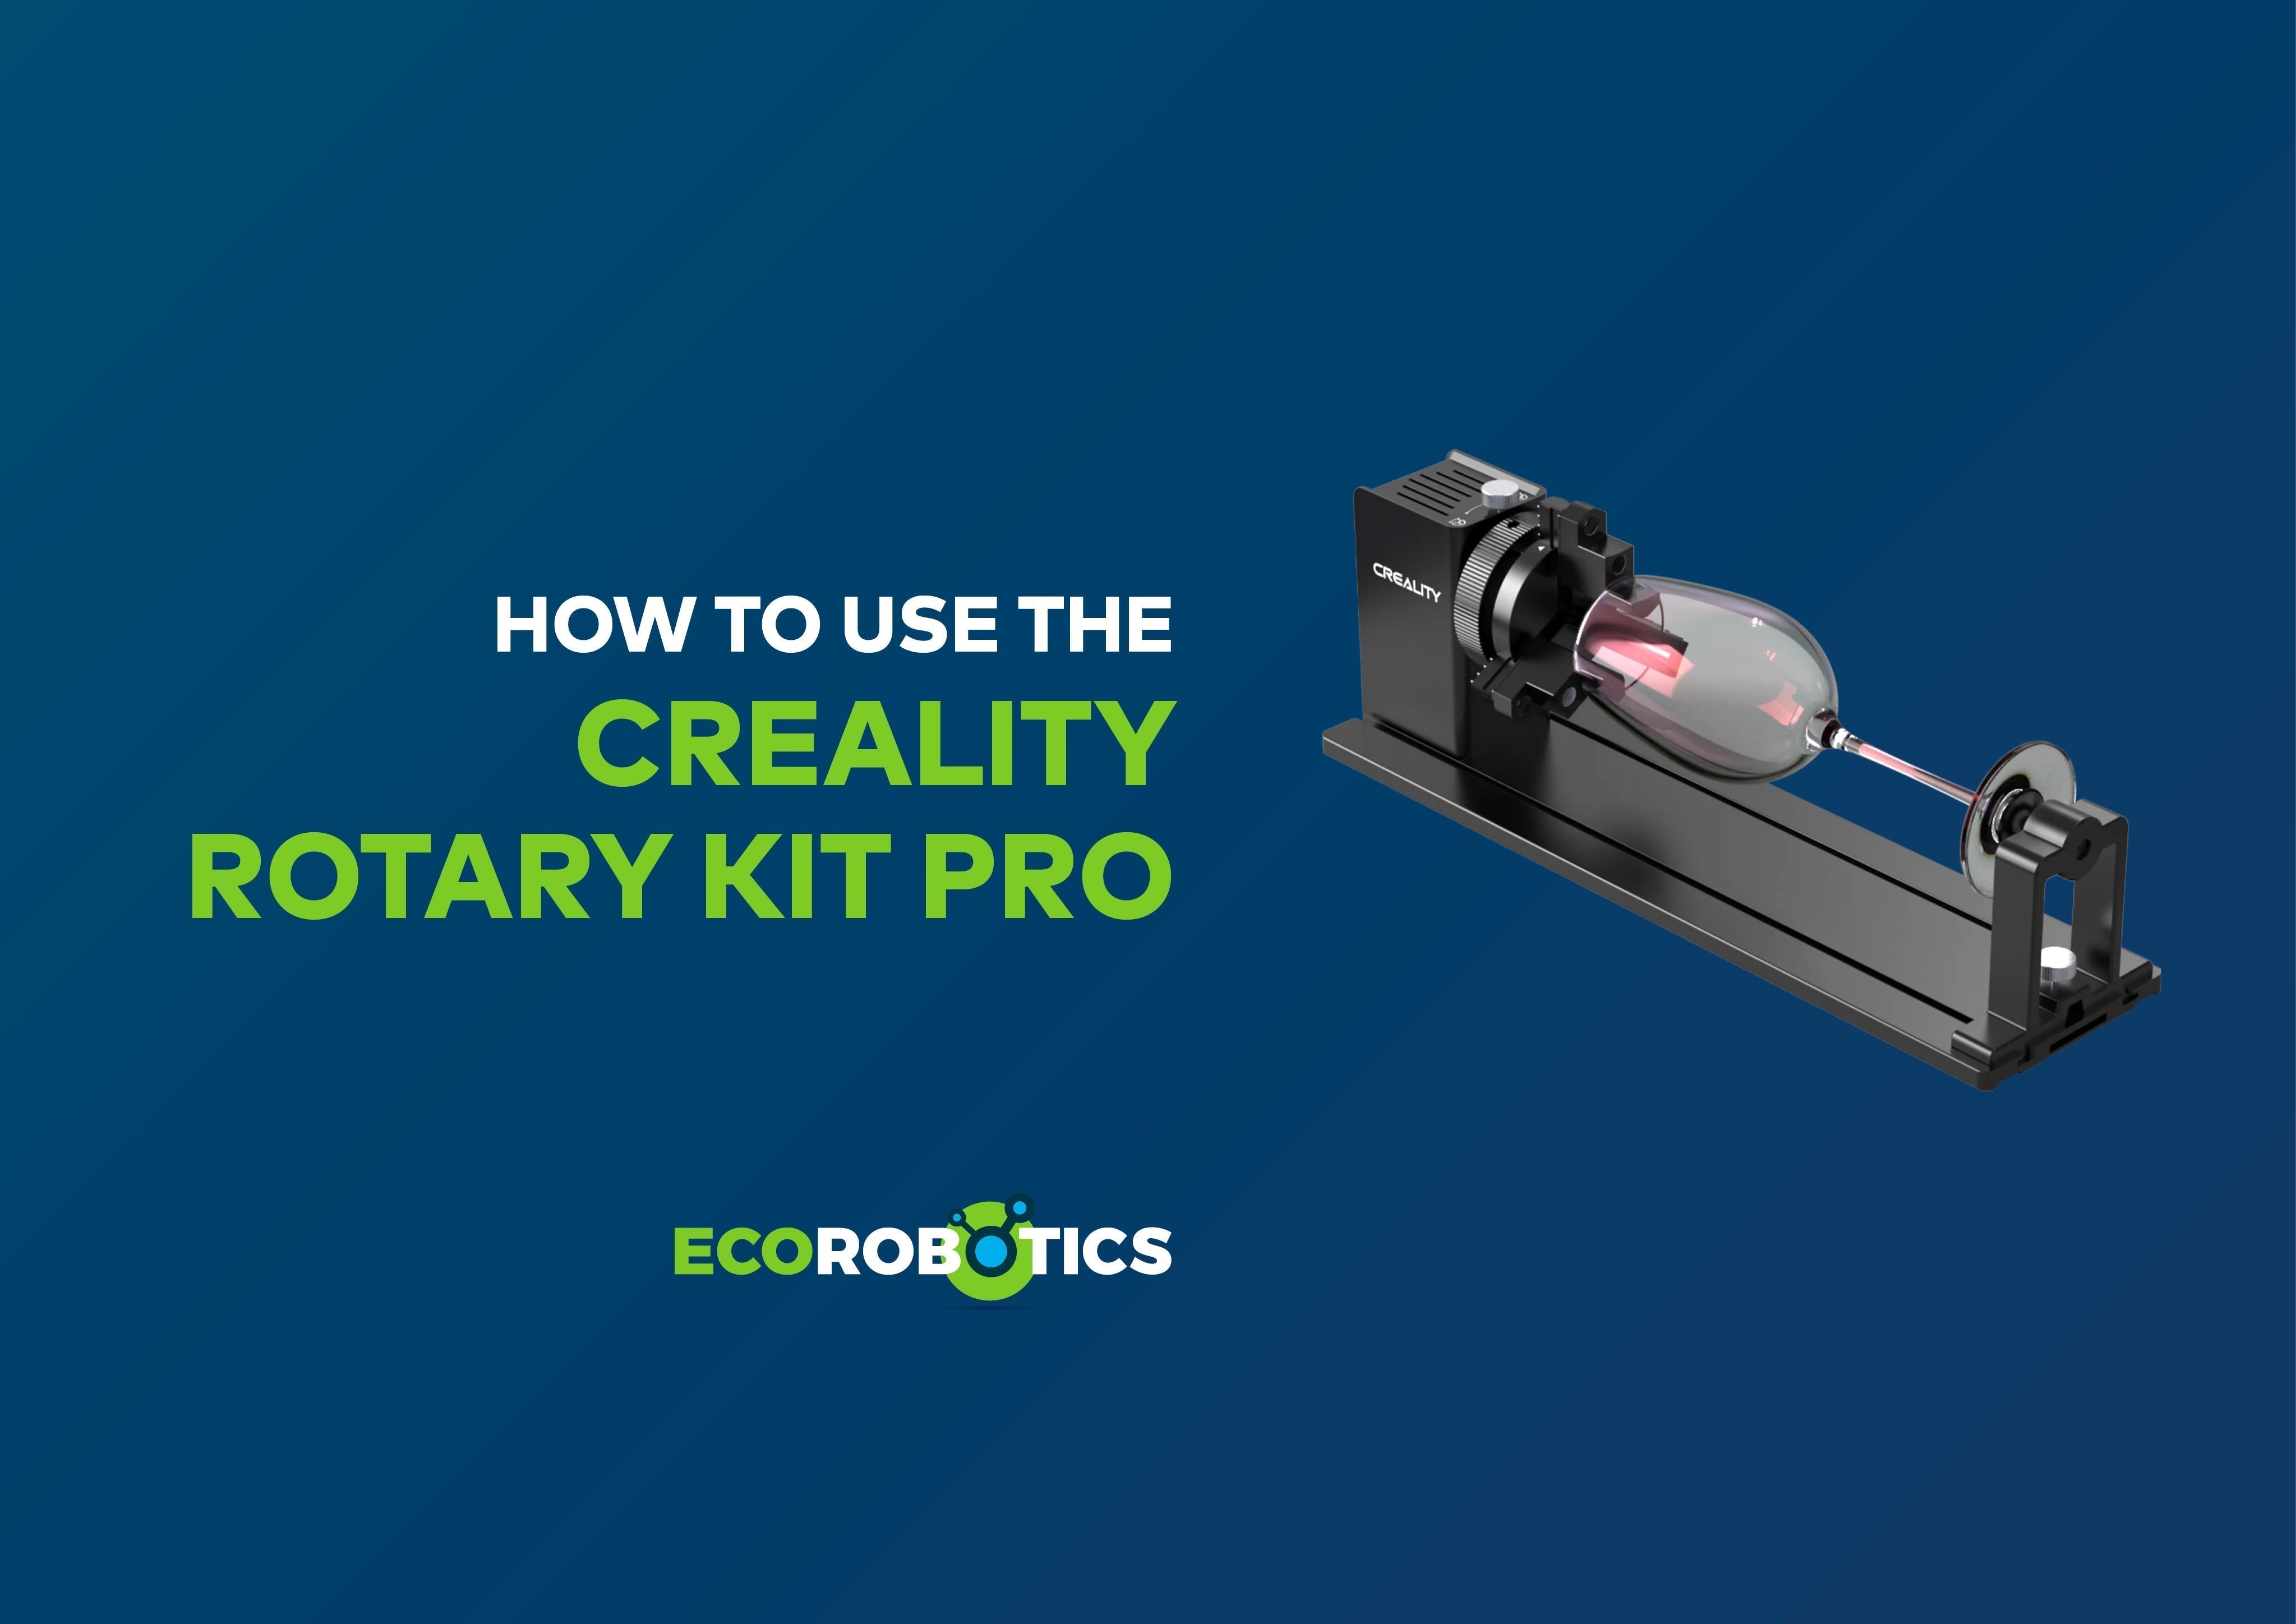
Engraving on round objects? Game. Changed. The Creality Rotary Kit Pro allows you to easily engrave on tumblers, mugs, and other cylindrical items—perfect for personalised gifts, business branding, or just some good old-fashioned maker fun.
But before you get too excited, here’s a quick walkthrough (with a few lessons I learned the hard way 👀).
What's in the box?
- Rotary Kit Pro
- 3 × Hex studs
- Flexible ruler
- M4 Allen wrench
- Connection cable
- 4 × M4×8 screws
- Quick guide


💡 Optional (but very useful):
I bought the Creality Falcon2 extra risers from EcoRobotics to raise the laser and make space for taller objects like tumblers.

Learn from my mistake
I’m a hands-on learner. So naturally… I engraved my first dachshund (yes, I’m a dachshund fanatic) sideways on the tumbler. Then, I accidentally engraved lines all over it because I didn’t set the size correctly. 🙃

This video helped me properly understand the rotary setup and how the measuring works.
Why the Rotary Kit Pro rocks
You’re no longer limited to flat materials. The chuck-style grip lets you rotate and engrave with precision on rounded objects—camping cups, bottles, you name it. It's easy to set up and even easier to love.
How to connect the Rotary Kit Pro
-
Plug the rotary kit into the Y-axis of your laser using the cable included.
✅ That’s it!

LightBurn setup guide
-
Square the rotary with the machine so your engravings are aligned straight.

- Open LightBurn.
- Go to Settings > Display Tab and tick Show Rotary Enable on the main window.

- Navigate to Laser Tools > Rotary Setup
-
-
Choose Chuck
-
Make sure Enable Rotary is on
-
Set Y-axis to 40mm
-
Enter either Z or A axis (LightBurn will calculate the rest)

-
- Rotate your design -90° (so you don’t dachshund it up)
- I used 90% power for stainless steel
- Align only the Y-axis with your object
- Enable Rotary on the main screen

- Frame the design to check alignment
- Use the focus tool (keep 1–3mm distance)
- Hit Start — and enjoy your engraved masterpiece!

Final thoughts
The Creality Rotary Kit Pro turns your laser into a gift-making machine. Once you get the hang of it, you’ll be engraving tumblers for friends, family—or that customer who just really loves their dog.
Happy making!
Blog contributor: An EcoRobotics customer who definitely won’t engrave a sideways dachshund again.
2 comments
Gifty,
I thought it came with the actual engraver, now I am stuck with a rotary kit with no laser engraver. I really didn’t do my homework on this one.
Julian
Please send quote for one machine