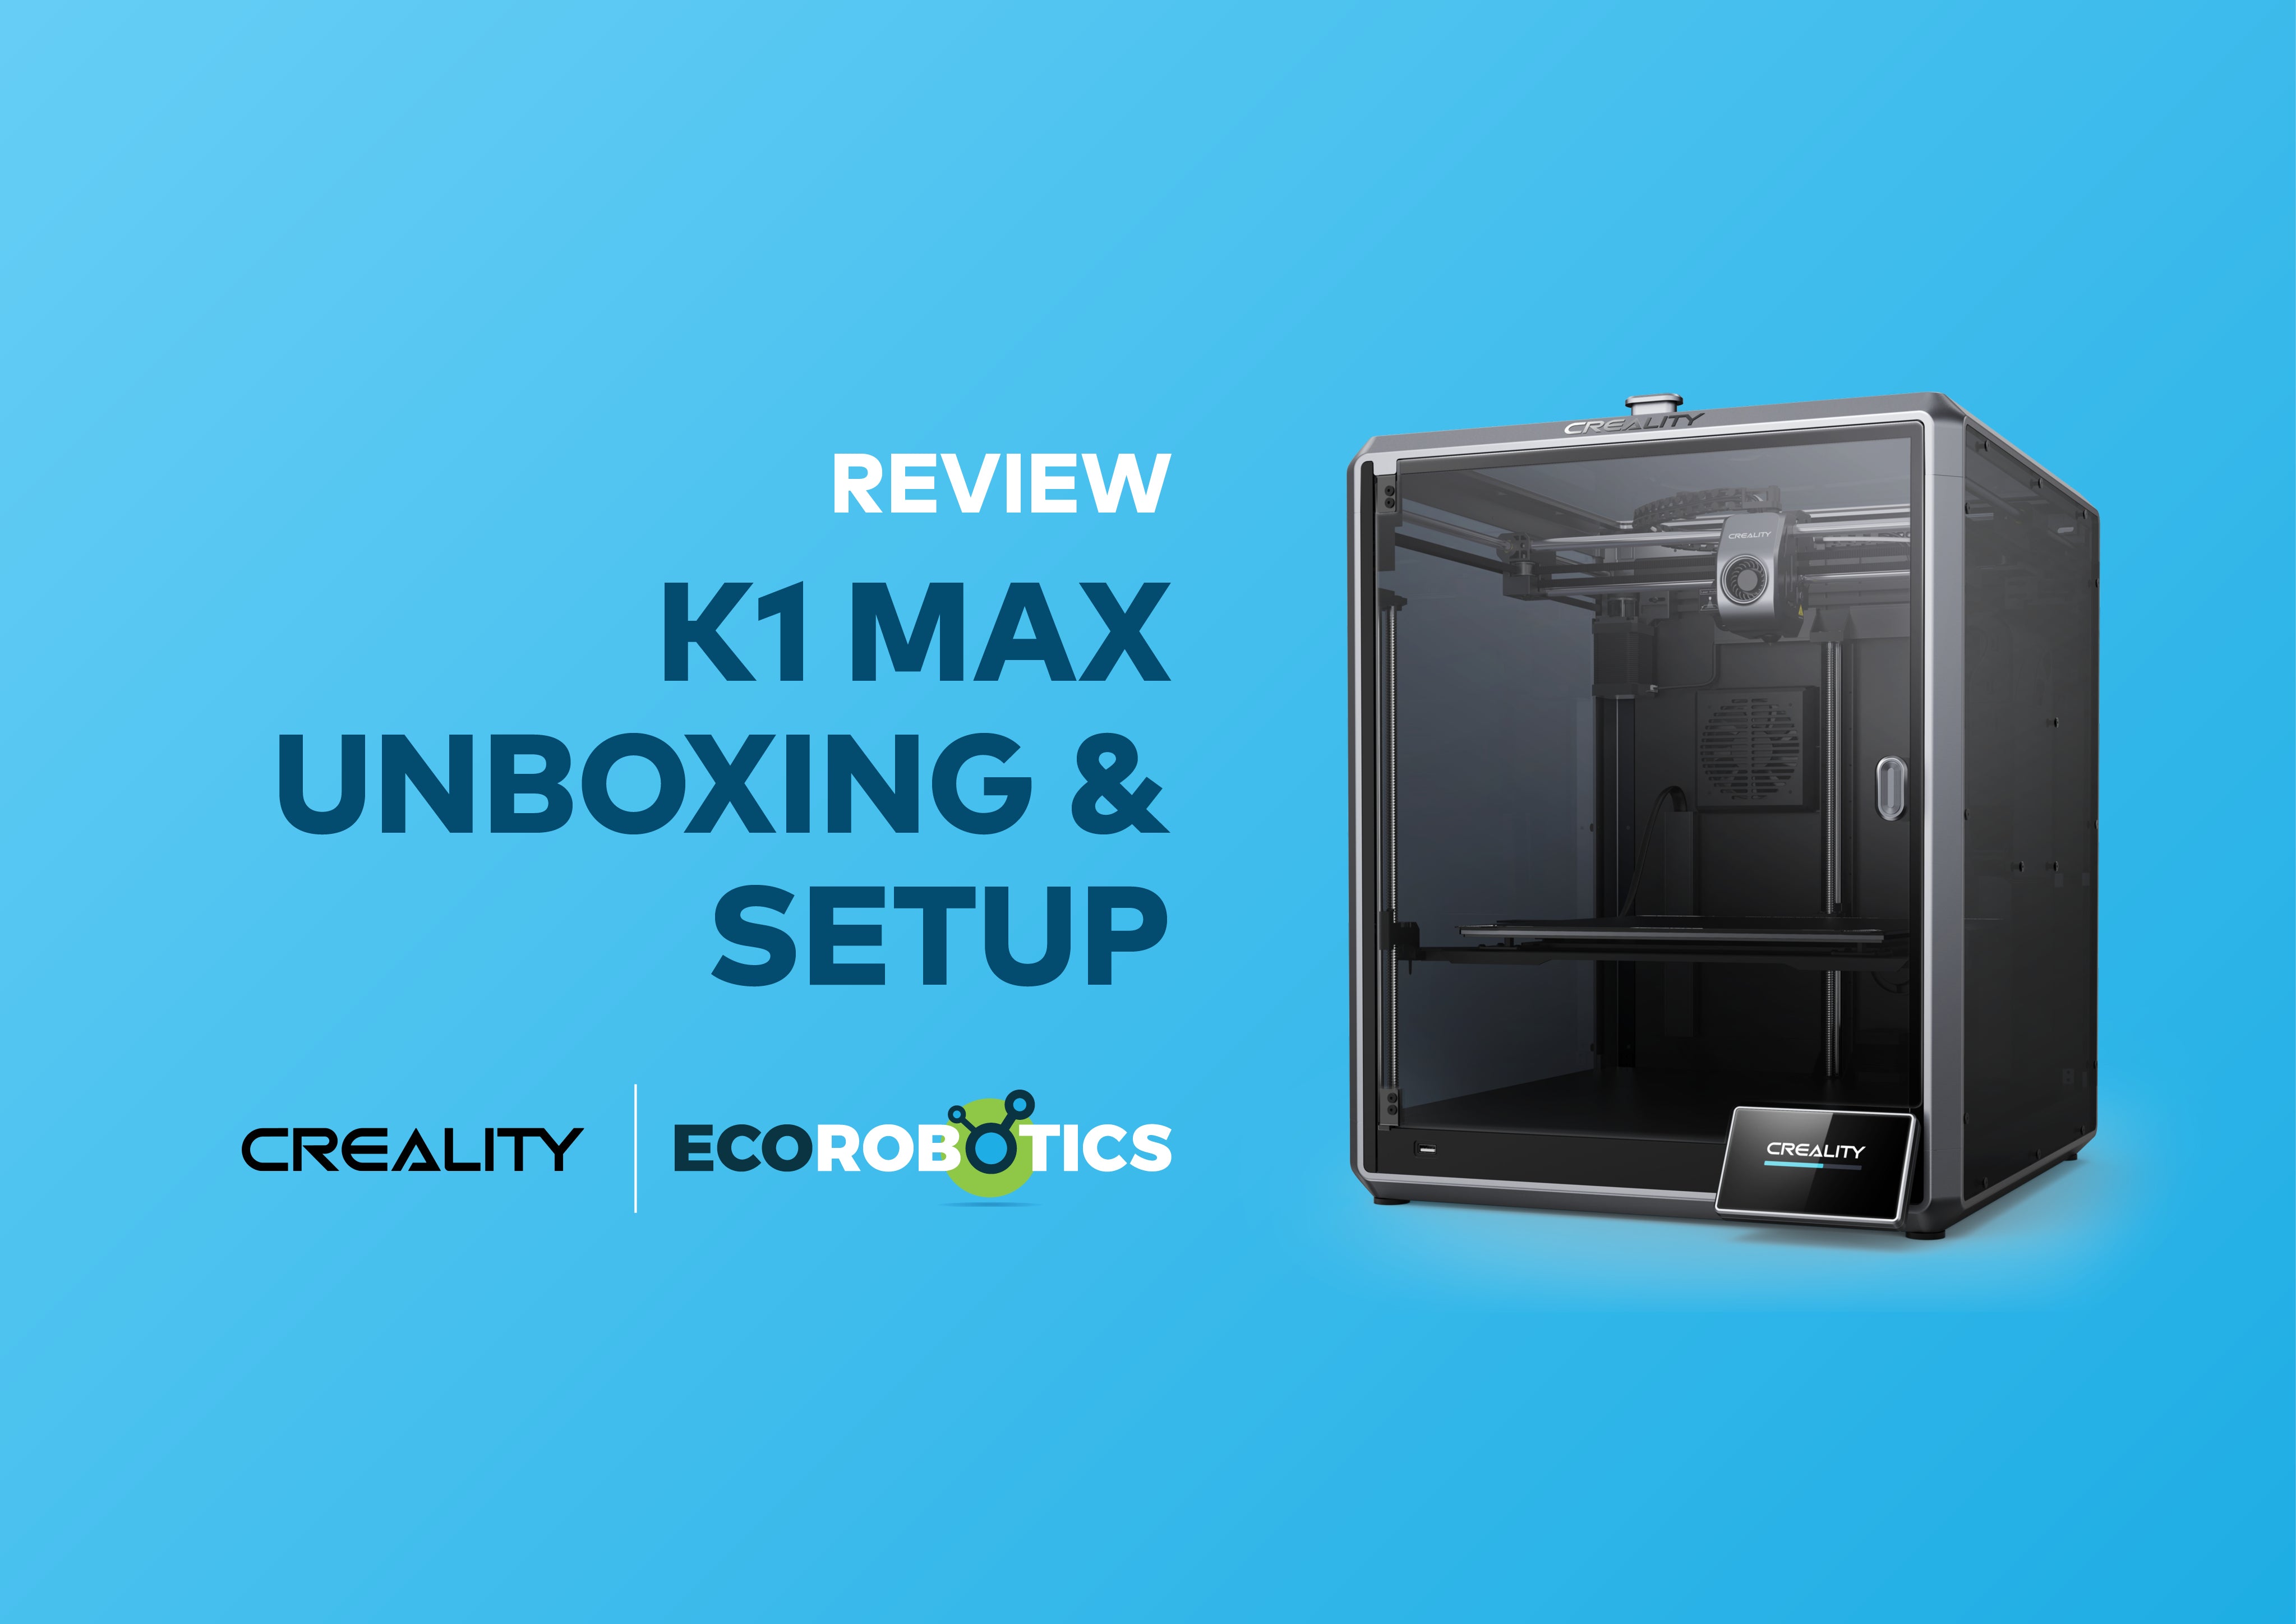
When it comes to unboxing and setting up the CREALITY K1 Max, the process is incredibly smooth. From excellent packaging to the ease of assembly, this 3D printer stands out from the start. Let’s dive into the details of what to expect as you unpack and set up your K1 Max.
Packaging
The CREALITY K1 Max arrives impressively well-protected. Foam surrounds the printer, ensuring that every part is secure and safe during transit. When you first open the box, the manual greets you right on top—easy to find and ready to guide you through the setup process.
As you remove the manual and the first foam layer, you'll find the top glass of the printer, wrapped in a protective film to prevent scratches. Once the glass and additional foam are removed, you’ll uncover the printer itself—and here’s the first exciting surprise: the printer is already built! Yes, you read that right, no complex assembly required.
Inside the printer, nestled safely in foam, you’ll find all the essentials:
- Power cable
- Computer screen
- Tools: Scraper, Allen keys, wrench, pliers, needle stick, extra bolts, glue stick, grease, and a flash drive with pre-loaded files
- Bonus goodies: A unicorn nozzle and a 1kg roll of Creality Hyper Filament (1.75mm)
- Magnetic build plate: Already positioned on the bed inside the printer
With everything organized and thoughtfully packed, the unboxing experience is smooth and hassle-free.


Setup
Once everything is out of the box, it’s time to set up the K1 Max. Don’t worry, the setup is quick and simple:
Mount the Computer Screen
- Start by plugging in and mounting the computer screen to the printer.


- Use the supplied Allen key to remove the three silver screws as indicated by the arrows in the instructions.


- Next, attach the handles to both the front door and the top glass lid of the printer using the screws provided.


- Attach the spool holder at the back of the printer to hold your filament roll.


- Turn on the printer, follow the on-screen instructions, and let it calibrate and do its initial setup.

- Make sure to load the filament in the correct direction (as displayed on the back of the printer) and you’re all set!
Once everything is set up, calibration is a breeze. There’s no need to manually level the bed—the K1 Max does it for you automatically!

Final Thoughts
The CREALITY K1 Max is a dream to unbox and set up. With its pre-built structure, clear instructions, and automatic bed leveling, it’s perfect for anyone looking to dive into 3D printing without the hassle of complex assembly. From the moment you open the box to your first print, the K1 Max offers a seamless experience, making it a standout choice for makers of all levels.
For more information:
Madeleine Koegelberg
madeleinekoeg@gmail.com

